For my pedals I wanted simple plain colours with printed writing and logos. I used this for both the Tubescreamer and Soda Meiser clones I’ve built.
Before you start sanding, screw the back of the enclosure onto the front. It means when you sand across the join between the two you get a matched finish that helps to hide the join and makes it look a lot smoother.
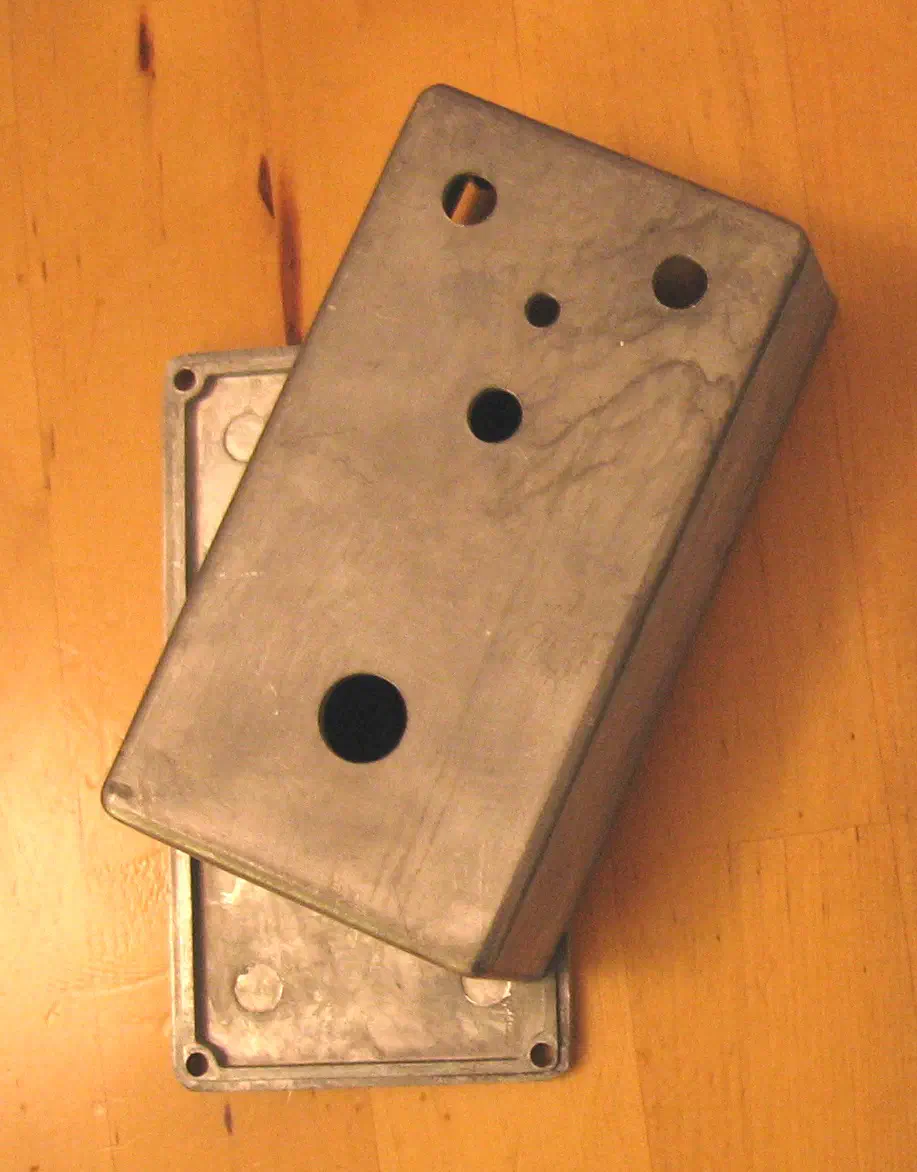
I sanded the aluminium enclosures down with wet sandpaper, starting at grade 80 to get the bigger imperfections out and then through grades 180, 280 and 400. It’s best to do this wet over a bucket of water; it helps get a nicer finish and prevents everywhere being covered in a fine layer of aluminium powder. The last point is especially important if like me you don’t have a dedicated workshop and need to keep what is usually the kitchen clean.
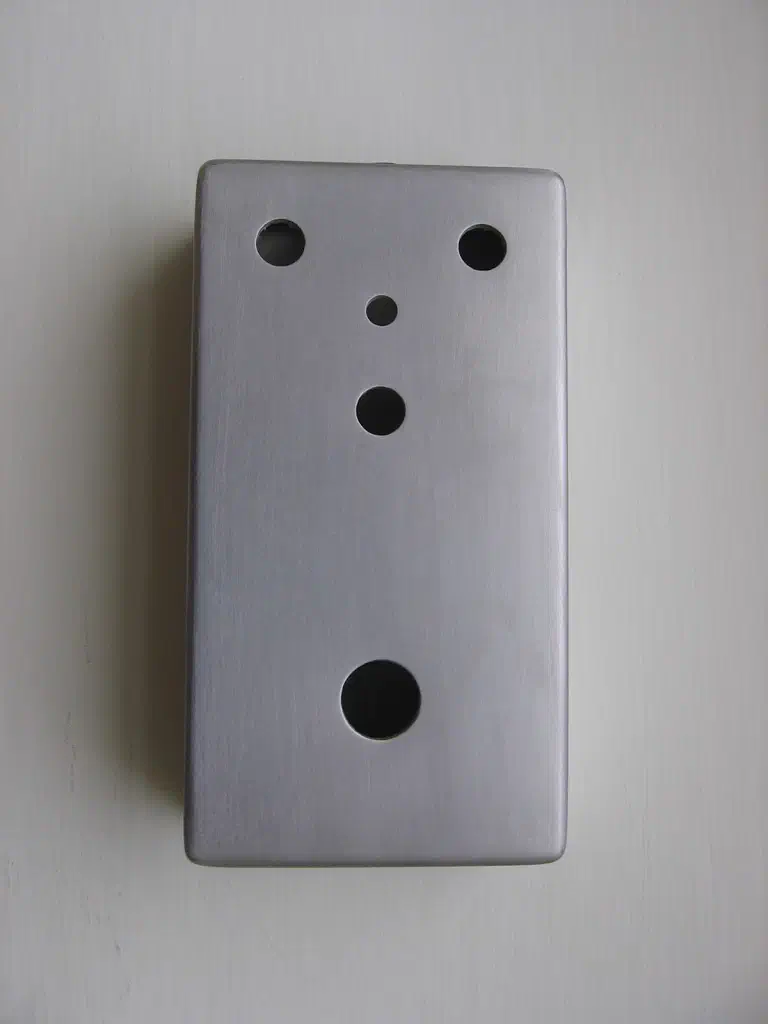
Finally the aluminium was finished by scrubbing it with some wire wool to remove the last of any directional grain you get from the sanding process. Then you can open the enclosure again and dry it before paining.
In preparation for painting it’s worth giving the enclosure a wipe with some alcohol to remove and remnants of grease that you fingers may have left behind. For the undercoat I used Molotow White Primer spray, supporting the separate parts of the enclosure on matchsticks to prevent the edges sticking to cardboard box I was spraying onto.
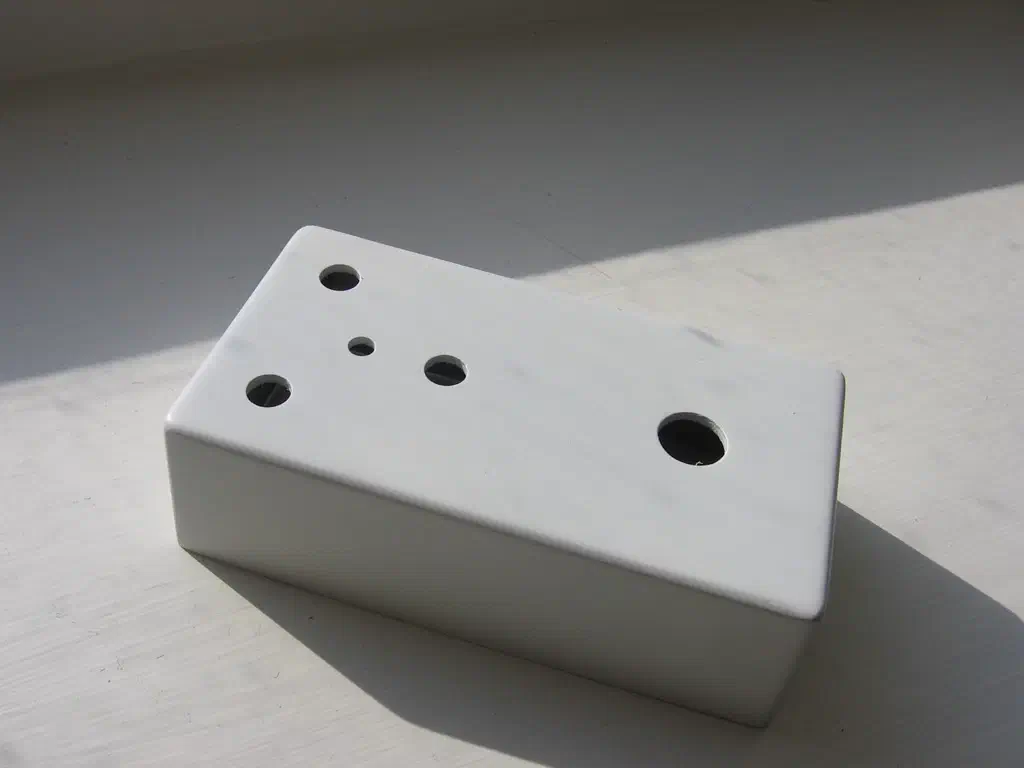
I did about three coats in total, leaving a day between each for them to dry completely. If you have some way of drying them faster you can do it in less time. Make sure you get an even clean white finish. Otherwise any darker patches might show through in the next coloured coat of paint that you apply, giving it an unwanted mottled cloudy effect.
For the colours I repeated the steps above, choosing a green for the Tubscreamer and Molotow Premium traffic red for the Soda Meiser. I suffered a bit from dust sticking to the wet pain while it was drying as I didn’t have a dedicated clean area I could leave the pedals.
I created the designs for the decorations in Inkscape and then printed them on waterslide decal paper ; always do a test print on normal paper first to make sure that what you print will come out the correct size. After letting the print dry I covered it in a few coats of clear varnish spray. Then you can cut out the designs, soak them in water and slide onto the painted pedal enclosure.
I don’t know if this is normal, but I always ended up with an obvious outline around the decal once it had dried on the pedal, which was a bit disappointing. Anything under the clear, unprinted, part of the decal ends up looking a bit lighter. I squeezed out as much water as I could without stretching or tearing the decal itself, but couldn’t seem to get around this problem. I haven’t seen other people mention it, so I don’t know if it’s just the expected result or if I was doing something wrong.
You can see the effect clearly in the picture below. The ‘Tone’ and ‘Output’ wording was printed on the same piece of decal paper, the of which edge is very clear. This is after I applied many coats of clear spray varnish to finish the pedal off.
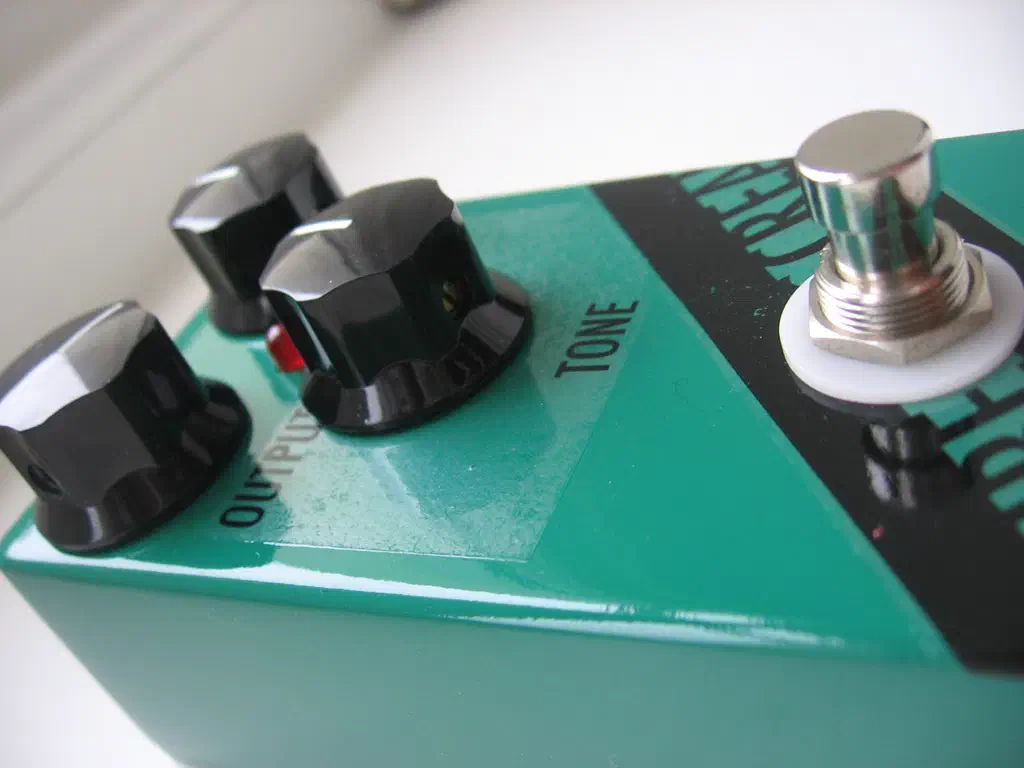
Lastly I finished the potentiometers off with some MXR style knobs, which to me always seem the best combination of simple design with a sturdy feel.
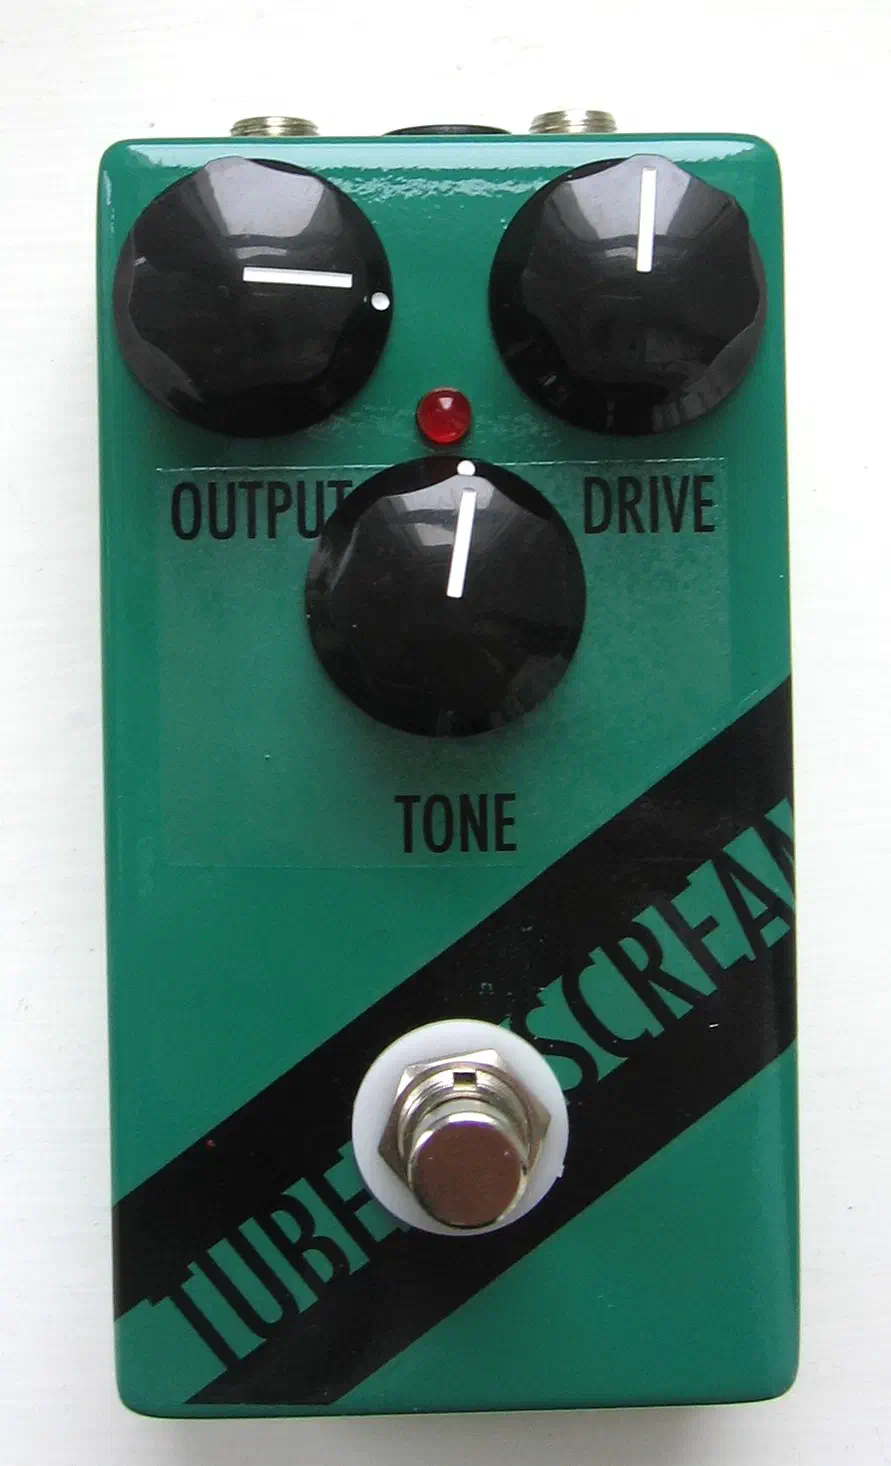
In total I’m quite happy with the finished effect, but don’t like the way that the transfer paper outlines all the text and logos. In the future I could either cut a lot closer to the text, but that would involve lots of very fiddly cutting out. A better option is probably to print one giant decal for the entire front of the pedal, then you can’t see any edges of changes in colour on the front, the edges being lost in the edges of the pedal. You would have to be very certain that you have all the dimensions of your print correct first. The other option I’m keen to explore is etching into the aluminium, which would avoid using water slide transfers at all.
In 2019 I built a couple more pedals , and managed to learn from some of my mistakes this first time.